How to Fix Common Home Problems Before Calling a Professional
Is that “emergency” repair actually a five-minute fix?
Many home problems look expensive at first: a clogged drain, a flickering light, a running toilet, a door that won’t latch, or a strange HVAC noise. But before you pay a service fee, a few safe checks can often reveal the real issue.
This guide shows you what to inspect, what tools to use, and when to stop before a small problem becomes a costly mistake.
You’ll learn practical fixes for common household issues-and the clear warning signs that mean it’s time to call a professional.
Home Repair Safety Checks: When a DIY Fix Is Safe-and When to Stop
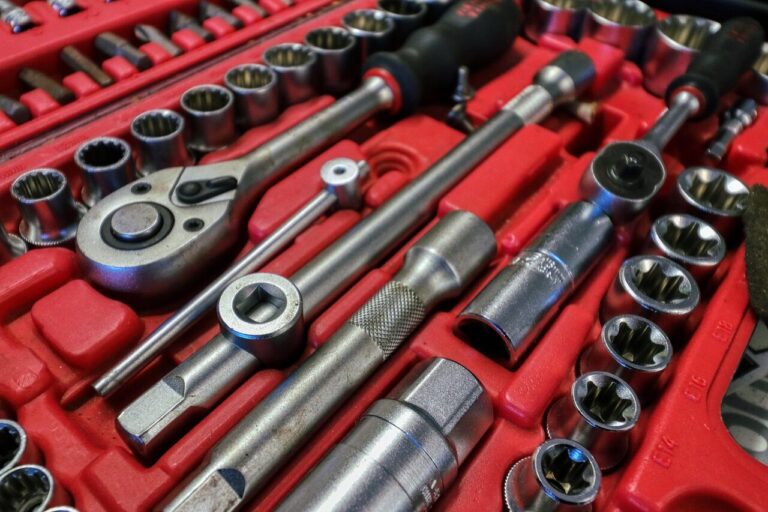
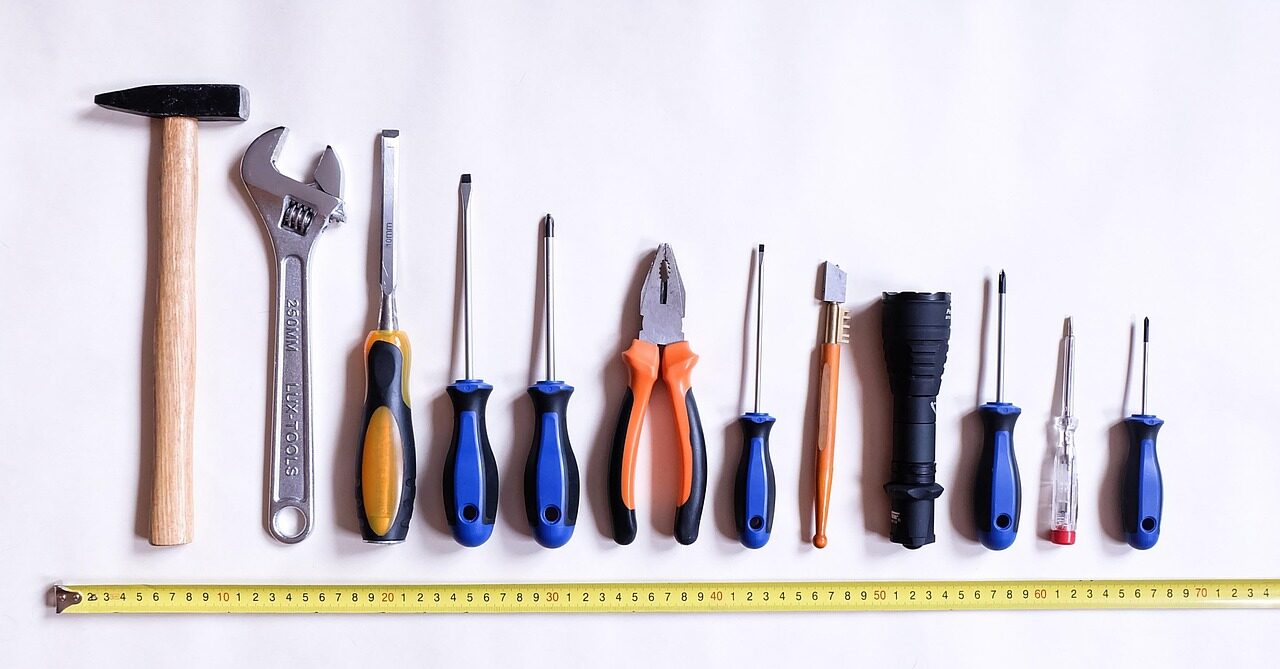
Before touching any repair, ask one question: “Can this mistake cause fire, flooding, injury, or insurance problems?” If the answer is yes, slow down and do a safety check before buying parts or opening a wall. A basic toolkit with a Klein Tools voltage tester, adjustable wrench, stud finder, safety glasses, and a shutoff valve key can prevent expensive damage.
DIY is usually reasonable for low-risk jobs like tightening a loose cabinet hinge, replacing a faucet aerator, unclogging a sink trap, sealing small gaps, or swapping an HVAC air filter. It may also be safe to replace a standard light switch cover or reset a GFCI outlet, as long as you are not touching live wiring. Always shut off power at the breaker and confirm it with a tester, not just the wall switch.
- Stop if you see burnt wiring, a hot outlet, sparks, or repeated breaker trips.
- Stop if a plumbing leak is inside a wall, ceiling, or near electrical devices.
- Stop if the repair involves gas lines, structural framing, roofing, or the main electrical panel.
For example, a small stain under a bathroom sink may only need a new supply line, which is a manageable plumbing repair. But if the vanity floor is soft or there is a musty smell, you may be dealing with hidden water damage, mold remediation, or a homeowners insurance claim.
When the risk is unclear, price out the repair before guessing. A licensed electrician, plumber, HVAC technician, or water damage restoration service may cost more upfront, but they can protect your home, warranty, and safety.
Step-by-Step Troubleshooting for Plumbing, Electrical, HVAC, and Appliance Problems
Start with the safest checks first: turn off the water supply for leaks, switch off the breaker for electrical work, and unplug appliances before inspecting them. Keep basic tools nearby, such as an adjustable wrench, flashlight, plunger, drain snake, voltage tester, and Fluke multimeter. If you smell gas, see sparks, or find standing water near wiring, stop and call a licensed professional immediately.
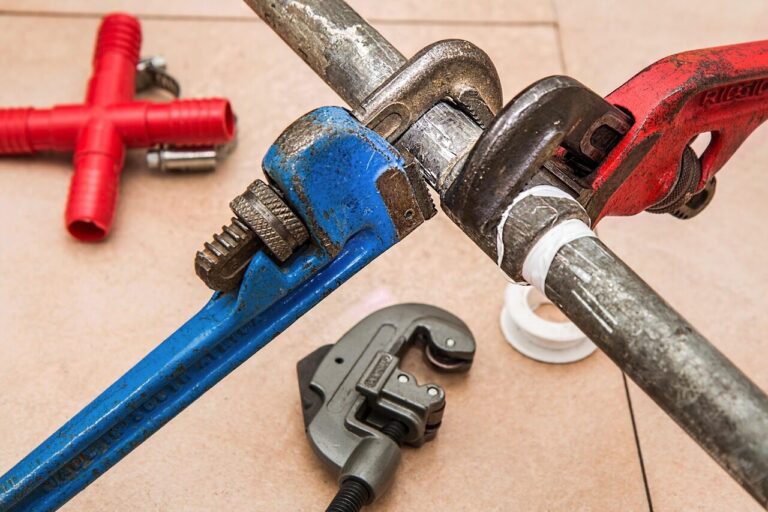
- Plumbing: For slow drains, remove the stopper and clean hair or debris before using chemical drain cleaner. For leaks under a sink, tighten slip nuts by hand first, then check the P-trap washer; small drips can be caused by a loose connection after someone stores cleaning bottles underneath.
- Electrical: If an outlet stops working, check the GFCI reset button, then inspect the circuit breaker panel. A multimeter can confirm whether power is present, but avoid opening panels or handling damaged wiring because electrical repair costs rise quickly when small issues become fire hazards.
- HVAC and appliances: Replace dirty furnace filters, check thermostat batteries, and make sure vents are open before assuming you need HVAC repair service. For a dishwasher that will not drain, clean the filter and inspect the drain hose for kinks before pricing a new appliance repair service call.
Use a simple rule: if the fix involves cleaning, resetting, tightening, or replacing a basic filter, it is usually homeowner-friendly. If it involves refrigerant, hidden leaks, burning smells, repeated breaker trips, or major appliance parts, compare the repair cost with a qualified technician’s estimate before going further.
Common DIY Home Repair Mistakes That Make Problems More Expensive
One of the costliest DIY home repair mistakes is treating the symptom instead of the source. For example, repainting a water-stained ceiling without checking the roof flashing, attic condensation, or plumbing leak can lead to mold remediation, drywall replacement, and higher insurance repair costs later.
Another common issue is using the wrong tool for the job. A cheap adjustable wrench can round off plumbing fittings, while an underpowered drill may damage cabinet hardware or wall anchors. For basic troubleshooting, a quality stud finder, voltage tester, and Milwaukee drill can prevent a small repair from turning into a contractor service call.
- Over-tightening plumbing connections: This can crack supply lines, damage shutoff valves, or cause hidden leaks behind walls.
- Skipping electrical safety checks: Replacing outlets without testing power first can create shock hazards or code violations.
- Using the wrong sealant: Interior caulk in a bathroom or exterior gap often fails quickly and allows moisture damage.
Homeowners can spend more fixing “quick repairs” than they would have paid for a proper inspection. A wobbly toilet, for instance, is not always solved with new bolts; it may need a wax ring replacement or subfloor repair before water damage spreads.
If a repair involves electrical wiring, gas lines, structural damage, or recurring leaks, pause before buying more materials. Document the issue with photos, compare local home repair service estimates, and only continue if the fix is clearly within your skill level.
Summary of Recommendations
Most household issues become less stressful when you approach them calmly, check the obvious causes first, and know your limits. A loose connection, clogged filter, tripped breaker, or worn seal may be simple to correct, but guesswork can turn a small repair into expensive damage.
The best rule: try safe, basic troubleshooting first, then stop if the problem involves electricity, gas, major leaks, structural damage, or anything you cannot clearly diagnose. Calling a professional is not a failure-it is the right decision when safety, warranties, or long-term repair quality are at stake.
The HProb Home Editorial Team creates practical educational guides about home maintenance, plumbing, HVAC, roofing, moisture control, leak prevention, and homeowner safety. Our articles are prepared using manufacturer documentation, public safety guidance, building-code references, and reputable home-maintenance resources. HProb does not provide engineering evaluations, contractor services, or property-specific repair instructions. Electrical, gas, structural, refrigerant, roofing, and major plumbing work should be handled by appropriately qualified professionals when required.